Home
» Tips
»
Printable Daily Time Blocking Template PDF for WFH Professionals: A Beginner-Friendly Guide
Printable Daily Time Blocking Template PDF for WFH Professionals: A Beginner-Friendly Guide
A printable daily time blocking template PDF can make a work-from-home day easier to see before it starts. Instead of keeping meetings in one app, priorities in another, and small tasks in your head, you place the day into visible blocks of time and give each block a purpose.
Time blocking means assigning a specific period of your day to a type of work or activity before you begin. It is different from a traditional to-do list: a to-do list tells you what you want to do, while a time-blocked plan also answers when you intend to do it.
For a WFH professional, that distinction matters because home-based work often mixes focused tasks, video calls, email, household interruptions, breaks, and personal responsibilities in the same physical space. Your template should help you protect important work without pretending every minute will go exactly as planned.
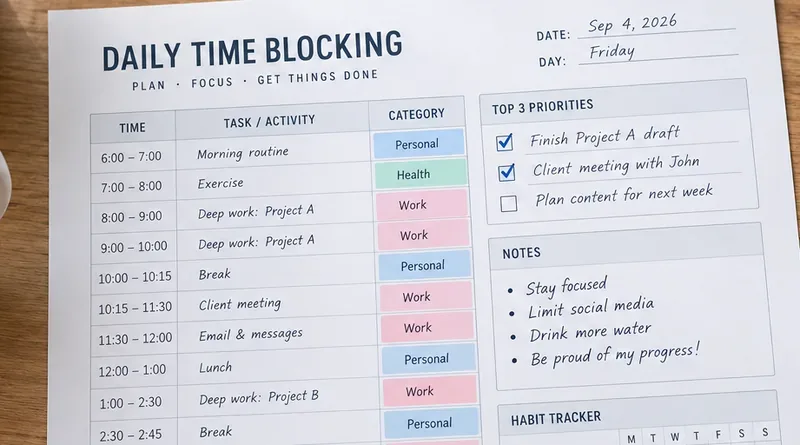
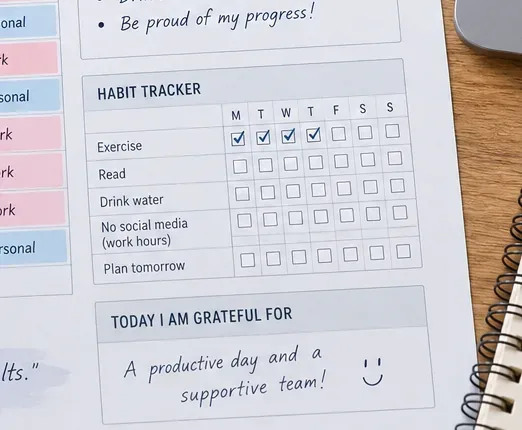
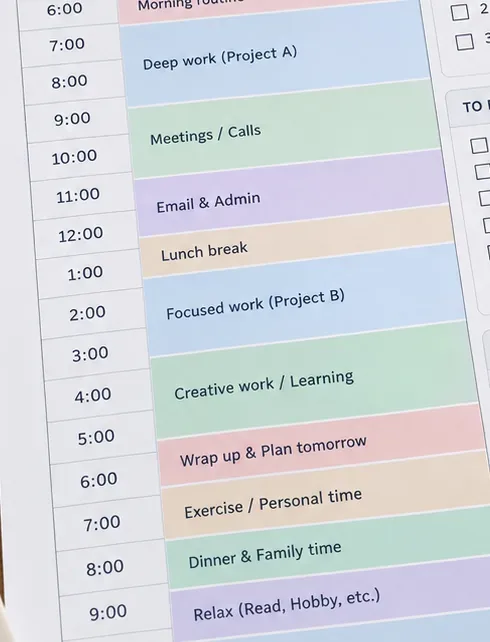
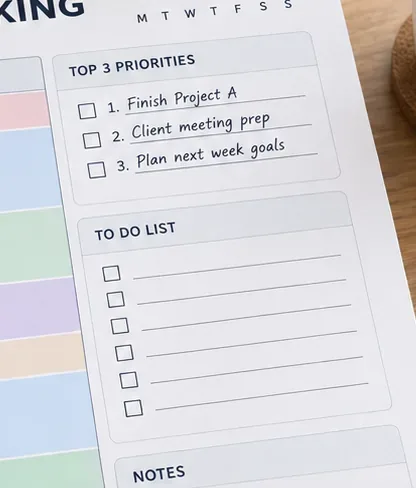
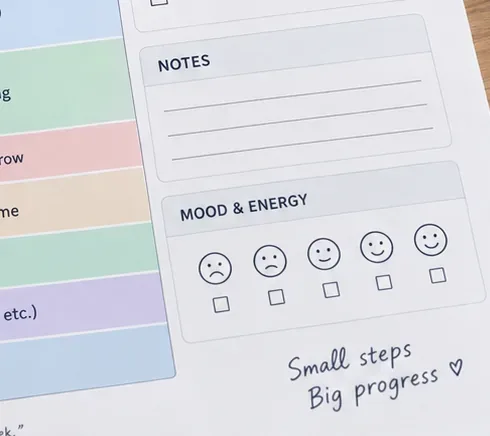
AI-generated illustration: A useful one-page planner combines a timeline, a short priority list, and enough notes space to adapt during the day.
What You Need Before You Start
You do not need a complicated productivity system. For your first day, prepare four things:
Your work hours for the day, including any personal boundary such as school pickup, dinner, exercise, or a hard stop.
Your fixed commitments, such as meetings, appointments, interviews, or scheduled calls.
One to three meaningful outcomes you would like to complete.
A printable daily time blocking PDF with a timeline, priority area, and some room for notes or carryover tasks.
If you already use a digital calendar, keep it open while filling out the paper template. The paper is not meant to replace your calendar. It acts as a single-day working map.
Step 1: Choose the Time Scale That Matches Your Work
Decide how detailed your timeline should be before you start writing tasks into it. A time increment is the smallest unit printed on the schedule, such as 15, 30, or 60 minutes.
Increment
Works well for
Watch out for
15 minutes
Call-heavy roles, support work, appointment-based work
Can encourage overplanning if your work is unpredictable
30 minutes
Most mixed WFH schedules
May be too coarse for very short appointments
60 minutes
Writing, analysis, engineering, design, research
May hide short meetings and transition time
For a beginner, 30-minute increments are usually easy to scan while still allowing meetings, lunch, focus work, and administrative tasks to coexist. If your role is highly reactive, use fewer, larger blocks rather than trying to predict every interruption.
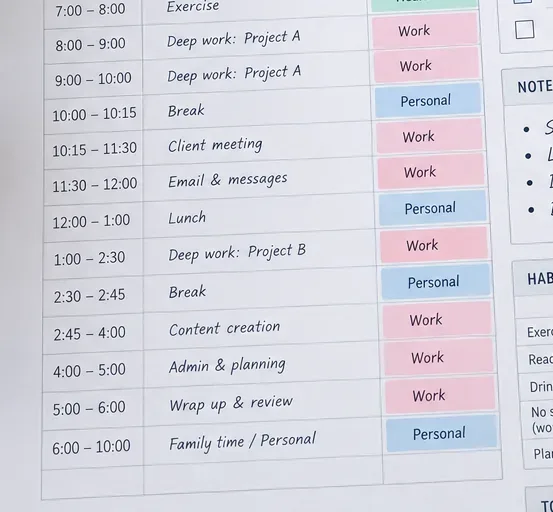
AI-generated illustration: Use block sizes that match the real rhythm of your job instead of forcing every task into the same duration.
Step 2: Put Fixed Commitments on the Page First
A fixed commitment is something that must happen at a specific time. Add these before flexible work because they define the space that remains.
For example, suppose you work from 8:00 a.m. to 5:30 p.m. and already have:
9:30-10:00 a.m. team stand-up
11:00-11:45 a.m. client call
1:00-1:30 p.m. lunch with your partner
3:00-3:30 p.m. project review
5:30 p.m. hard stop
Write those first. Do not fill the open spaces with tasks yet. Seeing the true amount of discretionary time is part of the value of the template.
If you use Google Calendar and your organization has an eligible Google Workspace edition, Google also offers a Focus time event type that can mute Chat notifications and automatically decline meetings. That can be useful when you want your digital calendar to reinforce selected paper blocks. Check Google's current Focus time documentation because availability depends on Workspace edition.
Step 3: Pick Your Top One to Three Outcomes
A priority is not simply something that would be nice to touch today. For this template, treat a priority as an outcome whose completion would make the day meaningfully successful.
Examples for a WFH professional might be:
Finish and send the first draft of the Q4 proposal.
Resolve the two blocking defects before the release review.
Complete the candidate scorecards before the hiring meeting.
Notice that each example describes a visible finish line. "Work on proposal" is weaker because it does not tell you what done looks like.
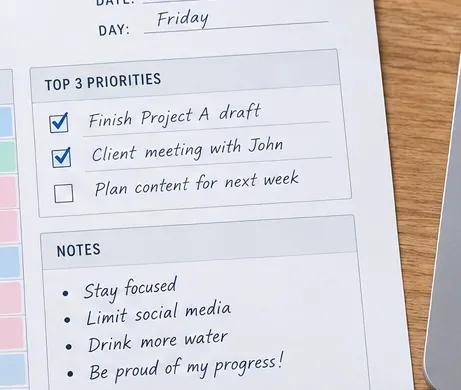
AI-generated illustration: Keep the priority list short enough that each item can influence where you place your best focus time.
If everything feels important, choose the item with the largest consequence for being late, the closest real deadline, or the item that unlocks other people's work. The purpose is not to rank your entire life. It is to make today's tradeoffs visible.
Step 4: Reserve Focus Blocks Before Filling the Gaps
A focus block is a protected period for one important task or one closely related set of tasks. During that block, the goal is to reduce task switching rather than maximize the number of things touched.
Microsoft's 2025 Work Trend Index reported that, in its analysis of work patterns, employees were interrupted by a meeting, email, or ping every two minutes on average. That does not mean every worker experiences the same pattern, but it illustrates why a visible focus period can be useful in notification-heavy work. See the official Microsoft Work Trend Index article.
Place your most demanding priority into a block when you are realistically able to concentrate. If mornings are quiet, you might reserve 8:00-9:30 a.m. for a proposal draft. If your mornings are dominated by school drop-off and recurring meetings, a 1:30-3:00 p.m. block may be more credible.
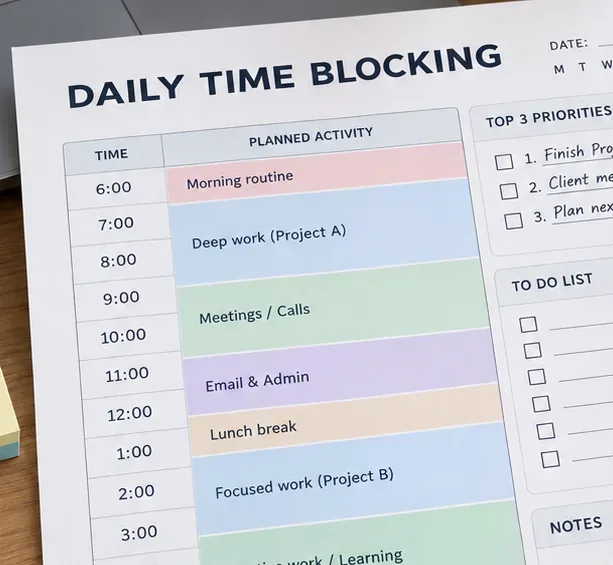
AI-generated illustration: Anchor demanding work in periods when you are actually likely to have enough attention and uninterrupted time.
Do not create a two-hour focus block for work that is likely to be interrupted every fifteen minutes. A smaller 45-minute block that you can defend is more useful than an idealized schedule you abandon by 9:15 a.m.
Step 5: Batch Communication and Small Administrative Work
Batching means grouping similar small activities into one planned period instead of reacting to each item as it appears. Email, Slack or Teams messages, expense approvals, status updates, file organization, and routine forms are common candidates.
For example, instead of checking email continuously, you might reserve 10:00-10:30 a.m. and 4:00-4:30 p.m. for communication. This is not appropriate for every job. If you are on-call, handle customer escalations, or have a response-time requirement, keep a larger reactive-work block and use your organization's service expectations as the constraint.
The goal is not to become unreachable. It is to separate "I need to be available" from "I need to look at every notification immediately."
Step 6: Add Breaks, Buffers, and WFH Boundaries
A buffer block is intentionally uncommitted time placed between demanding activities or before a hard deadline. It absorbs overruns, short calls, transitions, and tasks that took longer than expected.
For example, after a 60-minute client meeting, a 15-minute buffer can hold notes, follow-up actions, or a late finish. Without that space, one meeting can push every later block off schedule.
AI-generated illustration: Build recovery and transition time into the plan instead of treating every open minute as available work.
Breaks are also practical for physical comfort. The U.S. National Institute for Occupational Safety and Health notes that research has found short breaks every hour can reduce discomfort for people who work on computers. See the current NIOSH office environment guidance.
You do not need to turn that into a rigid timer. Use the recommendation as a reminder that an eight-hour WFH schedule should not be eight uninterrupted hours in a chair.
Now add your home boundary. Examples include:
12:30-1:00 p.m. lunch away from the desk
3:20-3:45 p.m. school pickup
5:30 p.m. shutdown and no new work blocks afterward
A shutdown block is a short end-of-day period for saving work, recording follow-ups, moving unfinished items, and deciding the next day's first priority. It helps prevent the planner from becoming a graveyard of unfinished tasks.
Step 7: Fill the Remaining Space, but Leave Some of It Empty
Once fixed commitments, priorities, focus work, breaks, and boundaries are visible, use the remaining space for secondary tasks. Do not fill every blank line just because the template has one.
AI-generated illustration: A realistic work-from-home plan includes both productive blocks and visible non-work boundaries.
A beginner-friendly rule is to leave at least one block unassigned if your workday regularly changes. The exact amount should depend on your job. A project manager with frequent unscheduled calls may need much more flexible time than a writer with few meetings.
Example WFH day
Time
Block
Reason
8:00-9:30
Priority 1: proposal draft
Protected focus before meetings begin
9:30-10:00
Team stand-up
Fixed commitment
10:00-10:30
Email and messages
Batch routine communication
10:30-11:00
Buffer / prep
Prepare for client call and absorb overrun
11:00-11:45
Client call
Fixed commitment
11:45-12:15
Follow-up notes
Capture actions while context is fresh
12:15-1:00
Lunch
Break from desk
1:00-2:30
Priority 2: project work
Second focus period
2:30-3:00
Open buffer
Unexpected tasks or short break
3:00-3:30
Project review
Fixed commitment
3:30-4:00
Priority 3 / follow-up
Close a smaller important outcome
4:00-4:30
Email and admin
Second communication batch
4:30-5:00
Loose ends
Finish or reschedule smaller items
5:00-5:30
Shutdown block
Plan tomorrow and end the workday
Step 8: Print the PDF Correctly
Before printing, check whether your PDF was designed for US Letter or A4. If the page and paper size match, printing at Actual size preserves the intended scale. If they do not match, using Fit can reduce or enlarge the page to the printer's printable area.
Adobe's current Acrobat documentation distinguishes these options clearly: Fit scales a PDF page to the printable area, while Actual size prints without scaling and can crop content that does not fit. See Adobe's official page-size printing guidance and Acrobat Reader print instructions.
For a one-page daily planner, print one test copy before producing a stack. Check that the time column, writing lines, and margins are fully visible. If the template contains pale colors, a grayscale test is also useful before committing to color printing.
AI-generated illustration: A clean one-page layout should leave enough writing room for priorities and secondary tasks after printing.
How to Run the Plan During the Day
When a block begins, work from the block rather than rewriting the entire schedule. If something unexpected appears, make one of three decisions:
Do it now if it is genuinely urgent and more important than the current block.
Move it into an available buffer or later block.
Defer it to tomorrow or a separate task list if it does not belong today.
If you miss a block, do not squeeze two blocks into one time slot. That is how a planning tool turns into an unrealistic backlog. Reschedule the unfinished work and protect the next important commitment.
Common Beginner Mistakes to Avoid
Mistake
Why it causes trouble
Better approach
Planning every minute
One delay can break the entire day
Add buffers and leave some open space
Listing ten "top" priorities
The list stops helping with tradeoffs
Choose one to three outcomes
Ignoring meetings when planning focus work
The plan is impossible from the start
Place fixed commitments first
Using identical block lengths for every task
Work varies in cognitive load and uncertainty
Match block size to the task and role
Skipping breaks because you work from home
Home location does not remove physical strain
Plan brief recovery away from the screen
Carrying unfinished blocks forever
The template becomes a guilt list
Reschedule deliberately during shutdown
End the Day With a Two-Minute Review
AI-generated illustration: Use a short end-of-day review to record what moved, what remains, and which block pattern worked best.
Before you close the planner, mark what was completed and move anything unfinished. Then answer three short questions:
Which block produced the most useful progress?
Which block was repeatedly interrupted or too short?
What should be scheduled differently tomorrow?
This review keeps time blocking flexible. The first template you use does not have to be perfect. After several workdays, you may discover that your meetings cluster in the afternoon, your best focus period is earlier than expected, or 30-minute blocks create too much fragmentation. Adjust the next printout accordingly.
What a Good Printable Daily Time Blocking PDF Should Include
When choosing a template for remote work, look for a layout that is simple enough to use every day. A practical one-page PDF usually needs:
Date and workday start/end fields
A vertical timeline with readable time increments
Space for one to three priorities
Enough room to name the purpose of each block
Visible breaks and buffer periods
A short notes or carryover section
An end-of-day review or tomorrow field
Color coding can help, but it is optional. A black-and-white printable template should still make sense without color. If you do use categories, keep them few: for example, Focus, Meetings, Admin, Breaks, and Personal. The point is to recognize the shape of your day quickly, not create a second job maintaining the planner.
Final Takeaway
A printable daily time blocking template works best when it is treated as a decision aid, not a contract with yourself. Start with fixed commitments, choose a small number of meaningful outcomes, reserve realistic focus time, batch small work when your role allows it, and leave room for the day to change.
For WFH professionals, the extra value comes from making boundaries visible. Lunch, recovery, school pickup, exercise, and the end of the workday belong on the page just as much as meetings and deliverables. When the schedule reflects the life you actually have, the template becomes much easier to follow.